- In 3ds max use the Box primitive to create a cube with dimensions of 75x75x75, and with 15 segments on each side. Using the keyboard entry mode will center this cube at the origin.
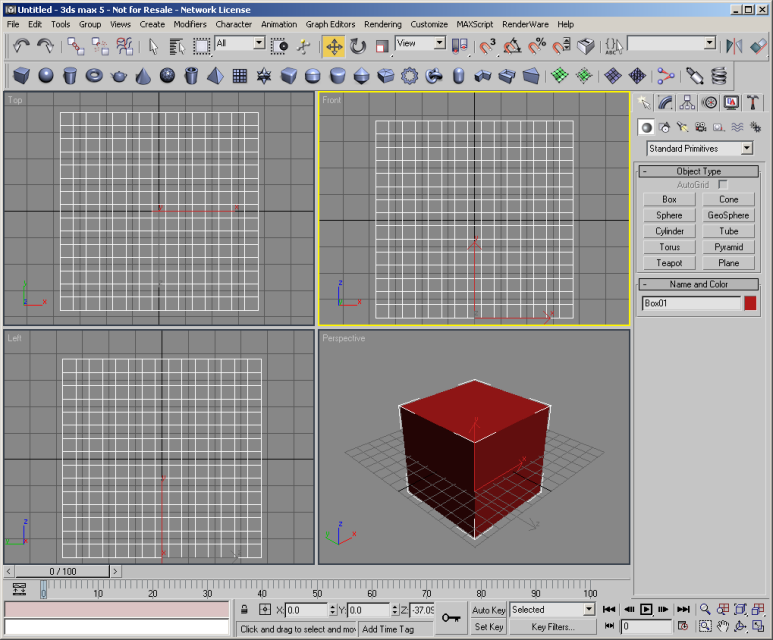
We want our world to be an enclosed space, so in fact the cube that we have created is "inside out". Flipping the cube is straightforward.
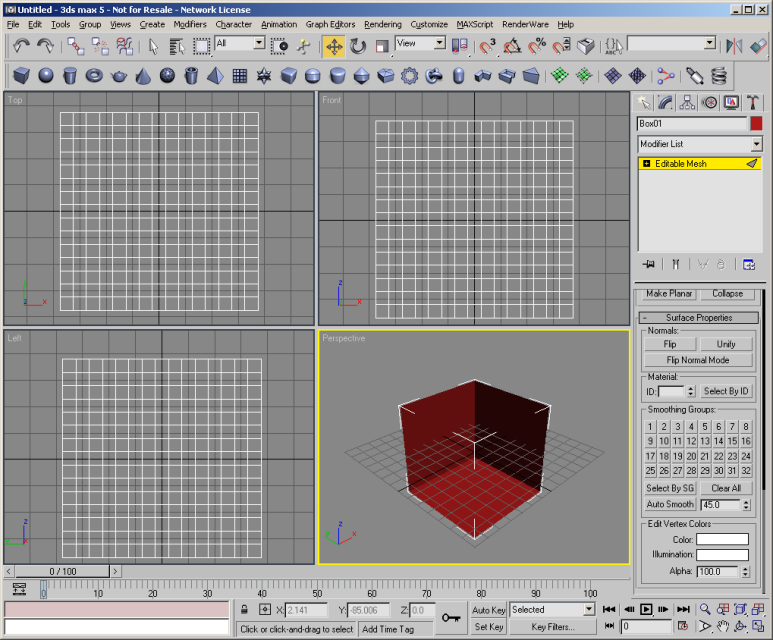
- Convert the cube to an editable mesh.
- Select Sub-Object Face, and select all of the faces in the model.
- Towards the bottom of the command panel locate the Normals section and click the Flip button. This will invert the cube. Your 3ds max display should look something like the following:
- Save your model with the name
tutorial5.max. Place it in the Examples/Tutorials/Tutorial5/Models folder.
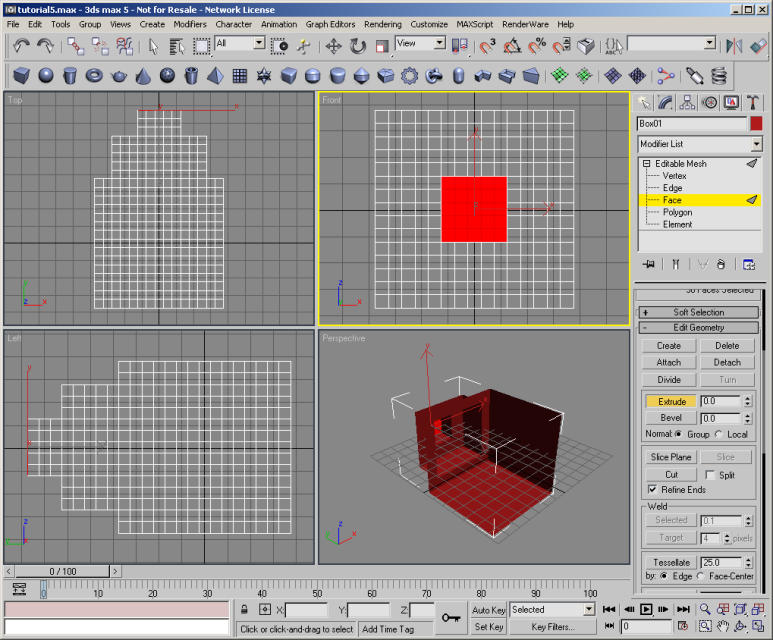
Now we will extrude some of the faces to make the cube more interesting.
- Deselect everything.
- In the command panel tick the Ignore Backfacing box in the Selection section.
- In the front view select all of the faces that are more than two segments away from the edge of the cube.
- Extrude these faces by -5 units. Repeat this step 4 further times.
- Select the innermost 25 faces of this extruded section.
- Extrude these faces by -5 units. Repeat this step twice more. This will create a cube with a couple of protrusions.
- Zoom extents all.
In 3ds max you should see something like the following:
Now we will assign a simple material to all of the faces.
- Select all the faces.
- Use the material editor to create a basic yellow material, and assign it to the selected faces.
- Save your 3ds max model.
- Deselect all objects in the scene.